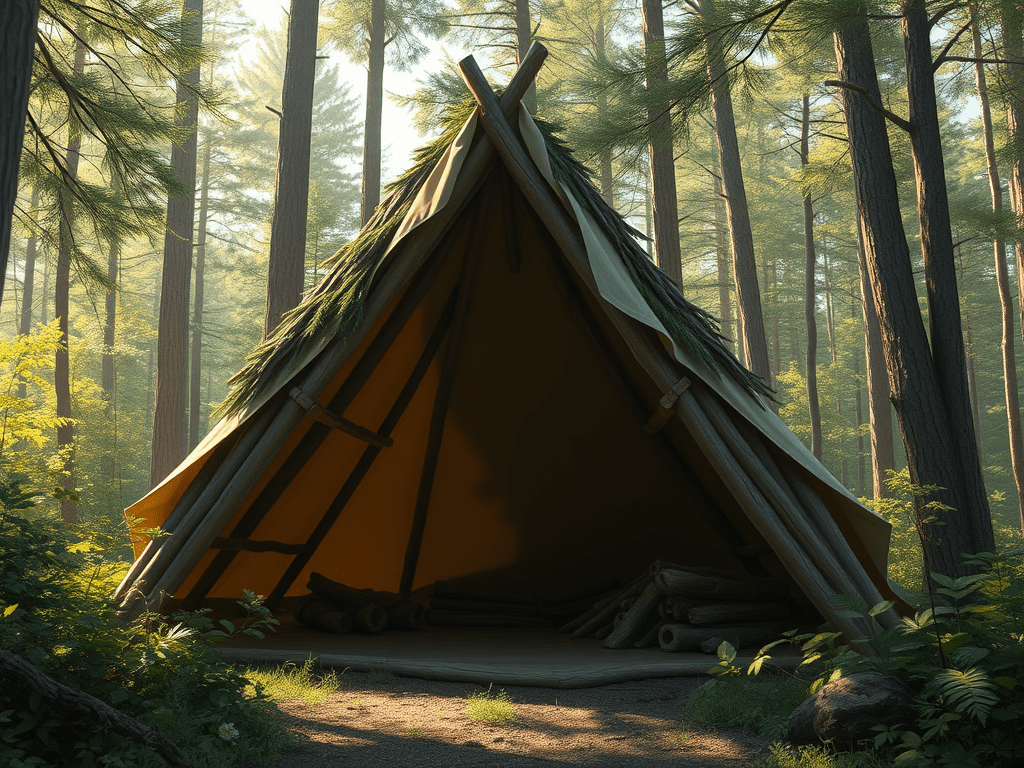
What is an A-Frame Shelter?
An A-frame shelter is a simple, triangular survival structure that resembles the letter “A” when viewed from the front. Known for its stability and efficient shedding of rain or snow, it’s a popular choice among bushcrafters, campers, and survivalists. A-frame shelters can be built using natural materials or enhanced with tarps for quick setup.
Why Build an A-Frame Shelter?
- Provides excellent protection from rain and snow
- Simple design that’s quick to construct
- Can be built with natural or synthetic materials
- Strong, stable structure ideal for short-term survival situations
Materials You’ll Need
- One ridgepole (6–8 feet long)
- Two forked sticks or supports. Sturdy trees standing the correct distance apart can also work.
- Multiple long sticks or branches for the walls
- Debris for insulation such as leaves, pine boughs, or bark
- Cordage (optional but will make the end result much sturdier)
Step-by-Step: How to Build an A-Frame Shelter
1. Pick a Good Location
Choose a site that is:
- Dry and elevated compared to the ground around it to avoid water pooling in your shelter area
- Shielded from wind. Build near natural barriers such as tree thickets, thick hedges, or hills if possible.
- Near the building materials you will need for construction. This will make construction easier and faster.
2. Set Up the Ridgepole
Anchor two forked sticks (shaped like a Y) in the ground, spaced about 5-6 feet apart, depending on your height. Lay the ridgepole in the forked end of the sticks and (optional) fasten with cordage. Ensure the ridgepole is stable and elevated enough to crawl under. The ridgepole should be somewhere between shoulder height and waist high.
Alternatively, you can use two traight branches lashed together to form an X insted of a forked stick. It will be more difficult to get the X shape to stand while you place the ridgepole, so you may want to bind the ridgepole to the X, then gently rest the structure on the ground while you create the second X. Get the second X standing, place the other end of the ridgepole on the second X and bind them together, and you now have a sturdy A-frame shelter. This method is more difficult, especially if you don’t have any cordage to bind things together, so using the forked sticks is the recommended method.
3. Add the Roof Frame
Lean sticks or branches against both sides of the ridgepole, forming a triangular shape. Space evenly with some distance between each stick if using a tarp. Place the sticks close together if using a natural material for insulation and weatherproofing. Place sticks to close one end of the shelter. You can partially close the other end, but make sure you leave an entrance big enough for you to crawl in and out of.
4. Cover with Debris or a Tarp
If using a tarp, drape it over the roof’s frame and secure with rocks or stakes. Pile leaves, pine boughs, bark, or grass over both sides of the roof frame or on top of the tarp if using a tarp. Add extra layers for additional insulation and better rainproofing
5. Insulate the Ground
Sleeping directly on the ground is never a good idea as the ground will pull heat away from your body. Lay pine needles, leaves, or soft bark on the floor of the shelter to create a barrier between yourself and the ground. Blankets and animal hides also work well if you have them on hand.
Pro Tips
- Build the entrance on the downwind side to better protect yourself from the wind.
- The steeper the angle, the better the water runoff. A steeper angle will usually also mean a smaller area inside, making it easier to heat.
- Don’t build a fire inside the lean-to shelter. The building materials are likely highly flammable and building a fires inside risks burning down your hard work with you in it.
- Build a reflector wall with rocks or logs to bounce heat from a fire. Build your fire a couple feet outside the open entrance of the A-frame shelter and place the reflector wall on the opposite side of the fire, sandwiching the fire between your A-frame shelter and the reflector wall. Flat rocks vertically placed behind the fire work best, but logs or stick driven vertically into the ground behind the fire works well too. If using sticks, strip the bark off the sticks before driving into the ground to increase their reflectiveness.
- If you are short on time before nightfall building the A-frame shelter, start by building a lean-to shelter with the forked sticks and ridgepole as the frame. You can then build the second side the next day, completing the A-frame shelter.
When to Use an A-Frame Shelter
- Rainy or snowy conditions
- Situations requiring a quick, sturdy setup
- Survival situations expected to last more than a couple of days
Final Thoughts
The A-frame shelter combines simplicity with strength, making it a go-to option for outdoor bushcraft survival. It offers better protection against the elements than a lean-to shelter and more space than a debris shelter. It offers a great blend of protection, ease of set up, and comfort. Now all that is left is to go out and try building an A-frame shelter for yourself.
Learning to build one kind of survival shelter is a great start, but there is no guarantee you will have the time or resources to build it. Make sure you are familiar with with multiple survival shelters and check out our Ultimate Guide to Bushcraft Shelters.

Leave a comment