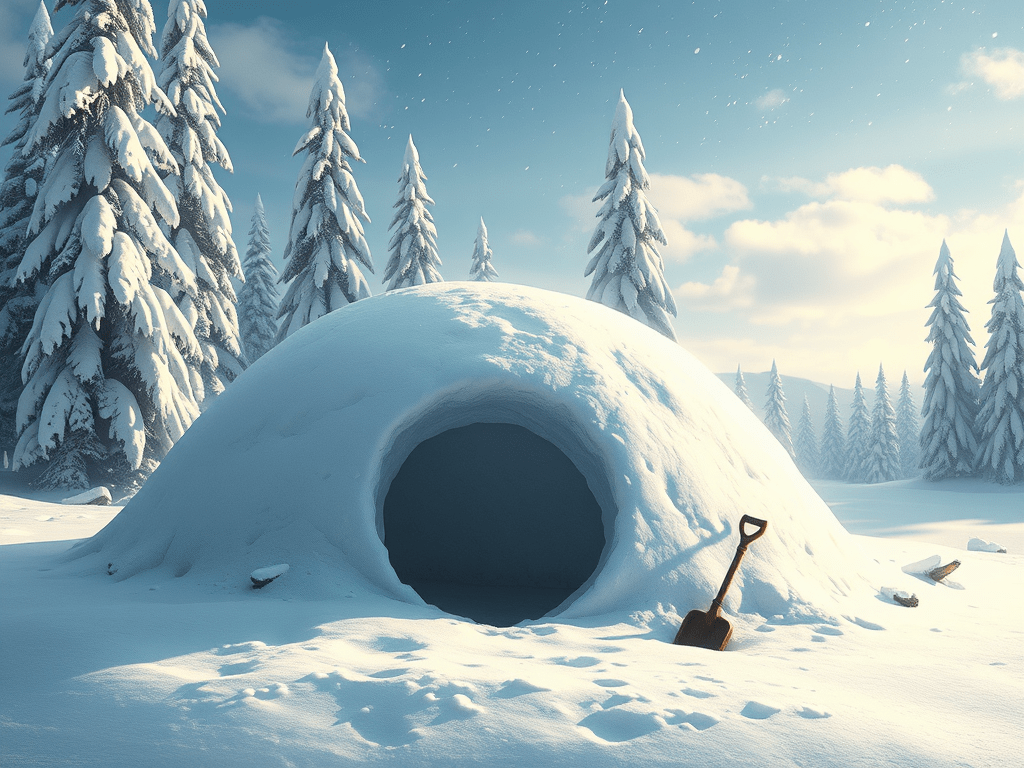
What is a Quinzhee Shelter?
A quinzhee shelter is a dome-shaped snow shelter built by hollowing out a mound of compacted snow. Unlike an igloo, which uses blocks of snow, a quinzhee is easier to construct with loose snow and doesn’t require special tools. It provides excellent insulation and protection in cold, snowy environments.
Why Build a Quinzhee?
- Excellent thermal insulation for subzero survival
- Requires only basic tools or gear
- Ideal for emergency snow shelters or winter camping
- Provides a windproof and waterproof environment
Materials You’ll Need
- A shovel or improvised digging tool
- Loose snow (at least 1–2 feet deep on the ground)
- Sticks (8–12 inches long) for wall thickness indicators
- Optional: tarp, sleeping pad, or emergency blanket for ground insulation
Step-by-Step: How to Build a Quinzhee Shelter
1. Choose the Right Spot
Pick a flat, open area with:
- Deep, unpacked snow nearby to make construction easier and faster.
- Sheltered from wind. Build near natural barriers such as tree thickets, thick hedges, or hills if possible.
- No avalanche dangerAvoid building on steep snowy mountainside whenever possible.
2. Pile the Snow
Create a dome-shaped mound of snow at least 5–6 feet high and 8–10 feet wide. Mix snow from different layers to help it bond (called “sintering”). Let it sit for at least 1–2 hours to settle and solidify. The longer you can let it sinter the better.
To make step #4 easier, build the mound on top of something buky and lightweight that is okay to get buried in snow. A hiking pack or something similar could be a good option if getting the contents wet or covered in snow is not a concern.
3. Insert Sticks for Wall Thickness
Insert numerous sticks 12 inches long all around the mound of snow, inserting until the end of the stick is flush with the exterior surface of the snow mound. These sticks will be used to measure the thickness of the walls in the next step when hollowing out the mound.
4. Dig Out the Interior
Start digging into the snow mound near the base of the mound, tunnelling towards the center. This hole should be just big enough for you to crawl in and out of. Hollow out the interior of the mound by digging until you can see the ends of the measuring sticks you inserted into the mound. Start by hollowing out the roof. Starting with the walls may make the walls too weak to support the weight of the roof. Smooth the interior into a spherical dome shape.
If you built the mound around something buriable, you can tunnel to that object and then pull the object out, reducing the amount of tunnelling and digging you have to do at this stage.
5. Create Ventilation
Poke a small hole in the roof for airflow. Keep the hole small as making it too big will allow heat to escape and may compromise the integrity of the structure. Snow can be used to partially close the entrance, better trapping heat in the quinzhee shelter and reducing the risk of an animal joining you in the middle of the night. Keep the entrance slightly open or carve a small trench entrance for circulation. Make sure not to completely enclosed yourself in snow or you may suffocate.
6. Insulate the Floor
Sleeping directly on the ground is never a good idea as the ground will pull heat away from your body, and this is doubly true for the snow covered ground in a quinzhee shelter. Lay pine needles, leaves, or soft bark on the floor of the shelter to create a barrier between yourself and the ground. Tarps, blankets and animal hides also work well if you have them on hand. do whatever you can to insulate yourself from the ground, but ideally you will want at least 6 inches of insulative material between yourself and the snowy ground.
Pro Tips
- Keep the inside height low and the walls thick to retain heat
- Always mark the exterior entrance in case of snowstorms. Heavy snowfall could close the entrance to your shelter, and you will want to make sure someone could see it if you are inside or for you to be able to find it if you are outside when it snows.
- Don’t sleep without a ventilation hole. Carbon dioxide buildup is dangerous and you can die of suffocation
- If the ventillation hole is large enough to allow for the smoke to safely escape, a small fire can be built inside the quinzhee shelter. The fire should be built directly in the center of the dome with the ventillation hole directly above it. If the heat from the fire melts any snow, the rounded dome shape should cause the melted water to run along the walls instead of dripping down on you. Too much warmth will compromise the structural integrity and increase the risk of collapse, so be cautious building a fire in a quinzhee.
- Building a small fire to burn for just a short while can actually increase the strength of the shelter. Keep the fire small, and don’t burn for long before putting it out.
- You and your clothes will get wet when constructing the quinzhee shelter. Wet clothes will not provide you much warmth. If the weather is nice enough during construction, consider taking off as many layers of clothing as you safely can to keep them dry until you are done.
- A shovel will obviously make the construction and hollowing out easier, but is not an absolutely necessary tool. A digging stick can be made by finding a thick enough stick and carving the working end to a mostly flat surface. Using your hands to dig should be a last resort as this will cause significant heat loss in your fingers.
- Don’t attempt to build a quinzhee unless it is well below freezing. Opinions sometimes vary, but for best results it should be no warmer than 20 degrees Fahrenheit (-6.67 degrees Celsius).
- Don’t fall asleep inside during inclement weather. Wind, rain, and heavy snowfall can cause a quizhee to collapse. Stay alert, if you get buried in the snow you could end up cold and wet at best, suffocating to death at worst.
When to Use a Quinzhee Shelter
- Winter survival situations
- Backcountry snow camping
Final Thoughts
The quinzhee shelter is a lifesaving structure for snowy conditions. It takes time, effort, and planning, but rewards you with warmth and protection. Learn it, practice it, and it may one day keep you alive in a freezing wilderness.
Learning to build one kind of survival shelter is a great start, but there is no guarantee you will have the time or resources to build it. Make sure you are familiar with with multiple survival shelters and check out our Ultimate Guide to Bushcraft Shelters.

Leave a comment