What is a Teepee?
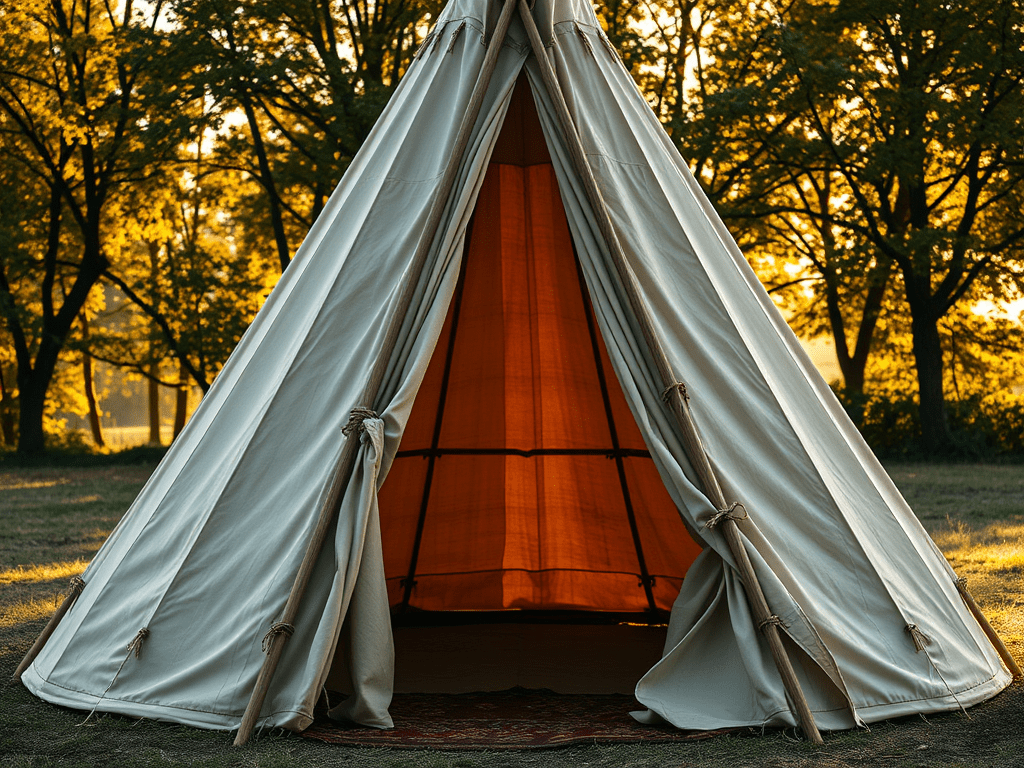
A teepee (also spelled tipi) is a cone-shaped tent traditionally used by Indigenous peoples of the Great Plains. Built for mobility, weather resistance, and warmth, the teepee remains one of the most efficient primitive shelters for windy and cold environments. Today, it’s used for camping, educational programs, and bushcraft learning.
Why Choose a Teepee Shelter?
- Extremely stable in wind due to its conical shape
- Efficient at easily venting smoke from a central fire
- Roomy interior with high ceiling for warmth and comfort
- Portable and adaptable to different terrains
Materials You’ll Need
- 10–12 long poles, ideally made from straight, dry trees, branches, or fallen logs
- Rope or natural cordage for binding
- Durable cover: canvas tarp, heavy-duty plastic sheeting, or traditional animal hide
- Pegs or rocks for anchoring the base
Step-by-Step: How to Build a Teepee
1. Gather and Prepare Poles
Choose straight branches or fallen logs that are strong but not overly heavy. Some bend or curve is acceptable, but the straighter your poles are, the better your shelter will be. The length of the poles you will need will depend on your height and how long you will be using the shelter. Don’t use anything shorter than 10 feet if you can help it, ideally, the poles should be about 12-15 feet long. Peel the bark off the poles if you are going to be using the shelter for long periods. Sharpen the base slightly for easier anchoring into the ground if you have the tools for it.
2. Form the Tripod
Select the three longest and sturdiest poles you have prepared. Lay them on the ground parallel to each other. Tie the three poles together about 1–2 feet from the top. They should be tied together firmly enough that they won’t come apart, but enough slack should be given to allow the poles to move slightly without snapping your cordage. Stand in the center where the poles overlap and raise the tripod and spread the legs out to form the basic frame. Move the center of the three poles to the side to create an “x” shape with one of the side poles, then lean the other side pole perpendicular to the “x” shape. This should result in the top of the third pole resting in the top part of the “x.” Carefully spread the tripod legs to your desired size.
If you can, try to push the tripod legs slightly into the ground for extra sturdiness.
3. Add Additional Poles
Lean the remaining poles you prepared around the tripod, spacing them evenly to create a circular structure. Make sure to leave a small gap at the front to serve as the entrance. Once all poles are placed, wrap more cordage around the top tightly to bind them all together with the tripod.
4. Add the Cover
Wrap your canvas, tarp, or animal hides around the pole frame starting at the entrance. Overlap the material as you go to create a seal. Leave an opening at the top for ventilation if you plan on building a fire inside the teepee.
Your entrance should be able to be closed by fastening the two end of your cover material together over the entrance. There are many ways to do this, from using an adhesive like duct tape to using a sharpened stick stabbed through both layers. Examine your situation and tools available to determine the best method for closing your front door.
5. Anchor the Base
Use sharpened sticks to act as pegs, large rocks, or small logs to weigh down the bottom edge of the cover to keep it from getting blown up in windy weather.
7. Optional: Add a Fire Pit
Dig a shallow pit in the center of your structure for warmth and cooking. Make sure the top of your shelter is open and the fire cannot reach any of the poles used to build your structure.
Tips for Teepee Success
- The steeper the angle, the better it sheds wind and water
- Ensure proper ventilation if using an open fire. put out the fire if it seems like smoke is accumulating inside the shelter.
Final Thoughts
Learning how to build a teepee taps into centuries of Native American survival wisdom. This timeless structure is simple, strong, and practical. An ideal addition to your outdoor skillset, whether you’re sheltering in the wild or just building a backyard bushcraft camp.
Learning to build one kind of survival shelter is a great start, but there is no guarantee you will have the time or resources to build it. Make sure you are familiar with with multiple survival shelters and check out our Ultimate Guide to Bushcraft Shelters.

Leave a reply to Tanner Cancel reply